To install Windows 7 on your Toshiba Satellite laptop, you’ll need a Windows 7 installation disc or USB drive. Insert the disc or plug in the USB drive and follow the on-screen instructions to complete the installation process.
Installing a new operating system (OS) on your laptop can be daunting, especially if you’re new to the process. However, with a few simple steps, you can install Windows 7 on your Toshiba Satellite laptop without any complications. Windows 7 is an older OS, but it’s still popular among users due to its simple and user-friendly interface.
Before you get started, ensure you have a Windows 7 installation disc or USB drive. It’s crucial to backup your data before installing Windows 7 since the installation process wipes your hard drive. So, make sure to copy all your important files to an external storage device. Ready? Let’s dive in to learn how to install Windows 7 on your Toshiba Satellite laptop.

Credit: www.wikihow.com
Requirements For Installing Windows 7
Requirements for Installing Windows 7
Before installing Windows 7 on Toshiba Satellite Laptop, be sure to check the laptop’s specifications. Ensure that the laptop meets the minimum requirements for the Windows 7 operating system. It is also crucial to backup important files and data to prevent losses during the installation process.
The next thing to do is to obtain a Windows 7 installation disc or a bootable USB drive. This will be used to carry out the installation on the Toshiba Satellite Laptop. Creating a bootable installation drive is also an option.

Credit: www.wikihow.com
Preparing For Installation
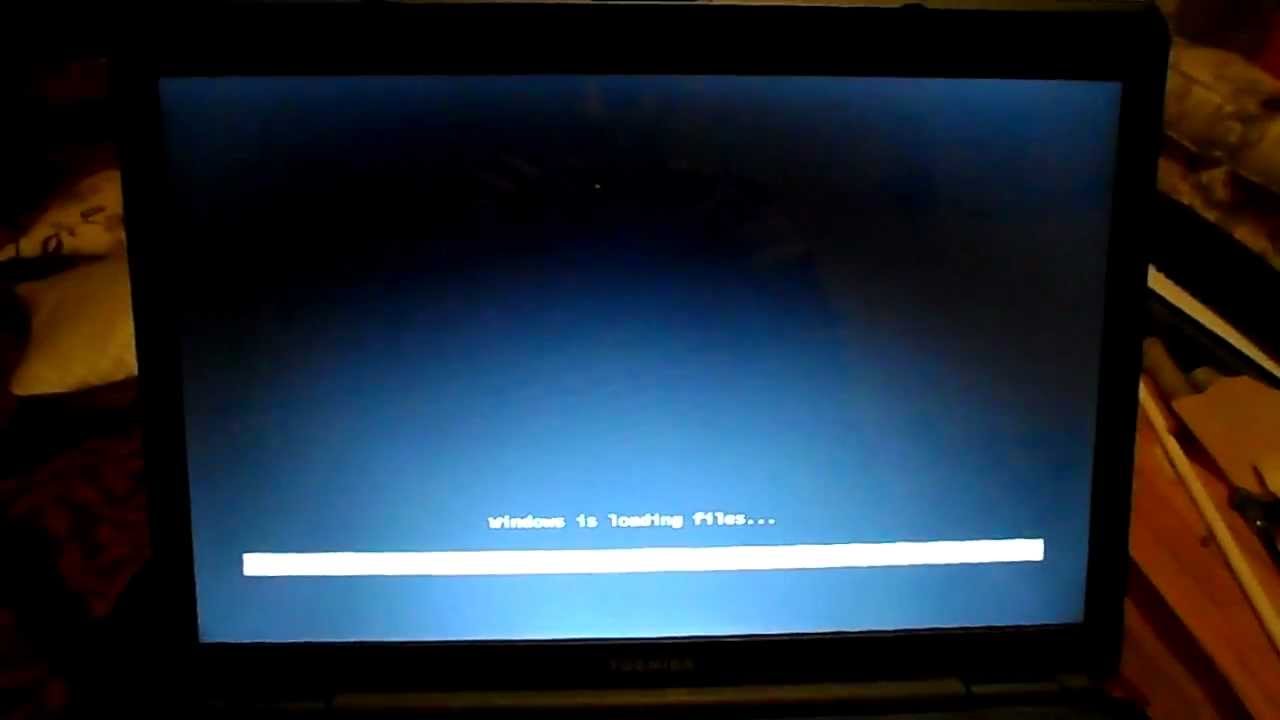
Installing Windows 7 on a Toshiba Satellite laptop is easy. To get started, ensure your laptop is connected to a power supply to prevent the battery from running out during installation. Once connected, restart the laptop and press the key that takes you to the boot menu. Some Toshiba models have different keys that allow you to access the boot menu, so check your manual if you’re not sure which key to press.
Once you’re in the boot menu, select the device that you want to boot from. You can use a DVD or USB drive to install Windows 7 on your laptop. If you’re using a USB drive, ensure that it is already connected to the laptop before accessing the boot menu. Follow the on-screen instructions to install Windows 7.
| Step | Action |
|---|---|
| Step 1 | Connect Toshiba Satellite to power supply |
| Step 2 | Restart the laptop |
| Step 3 | Access the boot menu |
| Step 4 | Choose boot device |
Installing Windows 7
Installing Windows 7 on your Toshiba Satellite Laptop is a straightforward process. First, select your preferred language and other settings. Then, enter your Windows 7 product key and accept the terms and conditions. Next, choose the custom installation option and select the hard drive partition where you want to install Windows 7. Finally, begin the installation process and wait for it to complete.
Restoring your laptop to its default settings can help fix a variety of issues and installing a new operating system like Windows 7 can give your device a fresh start. However, before proceeding, ensure you back up all your important files and documents as the installation will erase all data on your laptop’s hard drive.
| Step | Action |
|---|---|
| 1 | Select language and other preferences. |
| 2 | Enter Windows 7 product key and accept license terms. |
| 3 | Choose custom installation and select hard drive partition. |
| 4 | Begin installation and wait for it to complete. |
By following these simple steps, you can quickly install Windows 7 on your Toshiba Satellite Laptop and enjoy a faster and more efficient operating system.
Credit: m.youtube.com
Post-installation Steps
After successfully installing Windows 7 on your Toshiba Satellite Laptop, you need to follow some post-installation procedures. These include installing device drivers, activating Windows, and setting up user accounts. Doing so will ensure your laptop operates smoothly and securely with the latest updates.
After successfully installing Windows 7 on your Toshiba Satellite laptop, there are a few post-installation steps that you need to follow. Firstly, make sure to install all the necessary drivers and updates for your laptop to ensure smooth performance. Additionally, activating your Windows 7 is essential to keep it running smoothly. Secondly, restore backup files if you have any to avoid data loss. And finally, install essential software such as an antivirus program, web browser, media player, etc. It is crucial to keep your laptop updated and protected from any potential threats. Following these post-installation steps will help you make the most out of your Windows 7 experience on your Toshiba Satellite laptop.Troubleshooting Tips
If you’re experiencing issues while installing Windows 7 on your Toshiba Satellite laptop, here are some troubleshooting tips:
Troubleshoot Installation Errors:
- Ensure that your laptop meets the minimum system requirements for Windows 7.
- Check your install disc for scratches or damage.
- Ensure that your BIOS settings are configured to allow booting from the DVD drive.
Fix Driver Issues:
- Download the latest drivers for your laptop from the Toshiba website.
- If you’re unable to install drivers during the Windows 7 installation process, try installing them after the installation is complete.
Resolve Activation Problems:
- Ensure that you have a valid product key for your copy of Windows 7.
- Make sure that you have an active internet connection, as Windows 7 may need to be activated online.
- If you’re still unable to activate Windows 7, try using the automated phone activation system.
Frequently Asked Questions On How Do I Install Windows 7 On My Toshiba Satellite Laptop
How Do I Restore My Toshiba Laptop To Windows 7?
To restore your Toshiba laptop to Windows 7, you need to use the recovery disc that came with your computer or create one yourself. Insert the disc and restart your laptop. Follow the on-screen instructions to complete the restoration process.
Back up your files before starting the process.
Which Windows Is Best For Toshiba Satellite Laptop?
For Toshiba Satellite laptop, Windows 10 is the best option as it is designed to work with modern devices and offers better security features. It is also more user-friendly and provides regular updates. However, make sure your specific laptop model is compatible with Windows 10 before upgrading.
What Is The Boot Key For Toshiba Laptop Windows 7?
To access Toshiba laptop’s boot key for Windows 7, turn off the laptop, then press and hold the “0” key while turning on the laptop. Keep holding until the Recovery screen appears.
Can You Install Windows 7 On An Old Laptop?
Yes, you can install Windows 7 on an old laptop as long as the laptop meets the minimum system requirements. The laptop needs a 1GHz processor, 1GB RAM, and 16GB of hard drive space. It’s important to note that support for Windows 7 has ended, so it’s recommended to upgrade to Windows 10.
Conclusion
Now you know how to install Windows 7 on your Toshiba Satellite laptop. It might seem overwhelming at first, but with careful steps and proper precautions, the process can be completed easily. Remember to backup all your important data before proceeding and follow the steps carefully.
It is recommended to seek the help of a professional if you encounter any issues. Happy installation!