Are you tired of the generic email notification tones on your Android device? Do you want to personalize your email notifications with custom tones? If so, you’re in the right place. In this article, we will guide you through the simple steps to set a custom notification tone for email on your Android smartphone or tablet.
Credit: www.idownloadblog.com
Step 1: Choose Your Custom Notification Tone
The first step in setting a custom notification tone for email on Android is to choose the tone you want to use. You can select a pre-existing sound from your device or download a custom tone from the internet. Ensure that the tone is in a compatible file format, such as MP3 or OGG, for use as a notification sound on Android.
Step 2: Transfer the Tone to Your Android Device
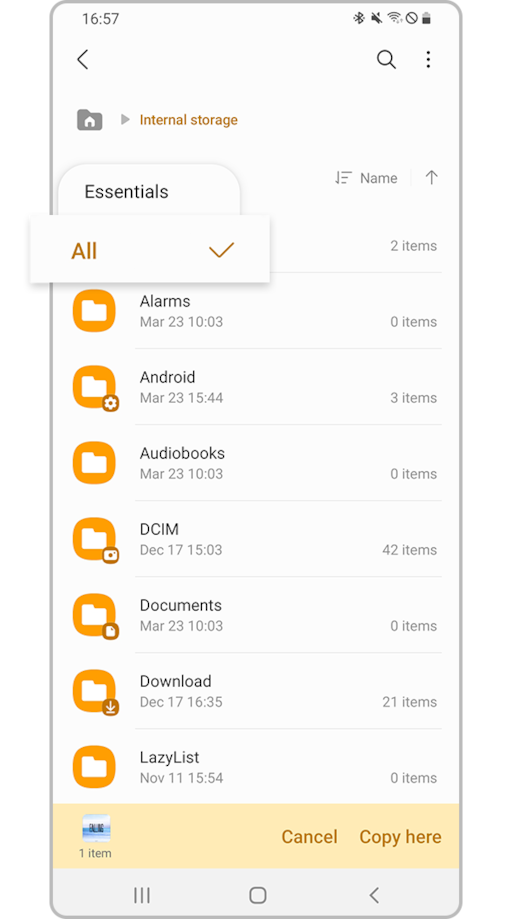
Once you have selected your desired notification tone, you will need to transfer it to your Android device if it’s not already stored on the device. You can do this by connecting your device to your computer via USB and moving the tone file to the “Notifications” folder on your device’s internal storage or SD card.
Step 3: Access Email App Settings
Next, open the email app on your Android device. This could be the default email app provided by the device manufacturer or a third-party email app such as Gmail or Outlook. Once in the email app, access the settings menu by tapping on the three-line menu icon or the settings gear icon, depending on the app you are using.
Step 4: Configure Notification Settings
Within the settings menu, look for the option related to notifications. It may be labeled as “Notifications,” “Sounds,” or “Notifications settings.” Tap on this option to access the notification settings for the email app.
Step 5: Set Custom Notification Tone
Upon entering the notification settings, you should see an option to set the notification sound. Tap on this option, and a list of available notification tones will appear. Scroll through the list and look for the “Add” or “Custom” option, depending on your Android device and email app.
After selecting the “Add” or “Custom” option, you will be prompted to choose the source of the custom notification tone. If the tone is already present on your device, select it from the list of available tones. If not, navigate to the location where you transferred the tone in Step 2 and select it from there.
Step 6: Save the Changes
Once you have chosen the custom notification tone, save the changes by tapping the “Save,” “OK,” or “Done” button, depending on the app you are using. Your custom notification tone for email on Android is now set and will be played whenever you receive an email in the configured email account.
Credit: www.samsung.com
Additional Tips for Customizing Email Notifications
If you want to further customize your email notifications on Android, consider the following tips:
- Assign Different Tones to Different Email Accounts: If you have multiple email accounts set up on your Android device, you can assign different notification tones to each account, making it easier to identify which account has received a new email.
- Use Vibration Patterns: In addition to setting custom notification tones, you can also configure vibration patterns for email notifications. This allows you to receive silent alerts when in a meeting or a quiet environment.
- Adjust Notification Light: Some Android devices have a notification LED that can be customized to blink in different colors for different notifications. Explore your device’s settings to configure the notification light for email alerts.
Frequently Asked Questions Of How Do I Set A Custom Notification Tone For Email On Android
How Can I Customize The Email Notification Sound On My Android Device?
To set a custom notification tone for email on your Android device, follow these steps:
1. Open the email app on your Android device. 2. Go to the Settings menu. 3. Look for the “Notifications” or “Sound” option. 4. Tap on it to access the notification settings. 5. Scroll down and find the “Email” category. 6. Tap on it to open the email notification settings. 7. Look for the “Notification Sound” option and tap on it. 8. Select your preferred sound from the list or browse for a custom sound file. 9. Once you have chosen the desired sound, tap on “Save” or “OK” to apply the changes. 10. Test the new notification sound by sending yourself an email. By following these steps, you can easily set a custom notification tone for email on your Android device and personalize your email experience.
Conclusion
Setting a custom notification tone for email on Android is a simple way to personalize your device and make your email notifications more distinguishable. By following the steps outlined in this guide, you can easily select and assign custom tones to your email notifications, enhancing your overall user experience. Remember to choose tones that are pleasant and easily recognizable to ensure that you never miss an important email on your Android device.